GatsbyJS で React Helmet を使用してサイトの meta タグを設定する
こんにちは、Gaji-Labo アシスタントエンジニアの石垣です。
今回は React 用静的サイトジェネレーターの GatsbyJS で React Helmet を使用して、GatsbyJS サイト上の meta タグを設定する方法についてまとめたいと思います。
目的
GatsbyJS で作成されたサイトには、デフォルトでは meta タグや title 要素が設定されていません。
GatsbyJS で meta タグを設定するには、 gatsby-plugin-react-helmet プラグインを導入し、 React Helmet という head 要素を変更できる React コンポーネントを使用して設定します。
詳しい説明は gatsby-plugin-react-helmet の公式ドキュメントもご参照ください。
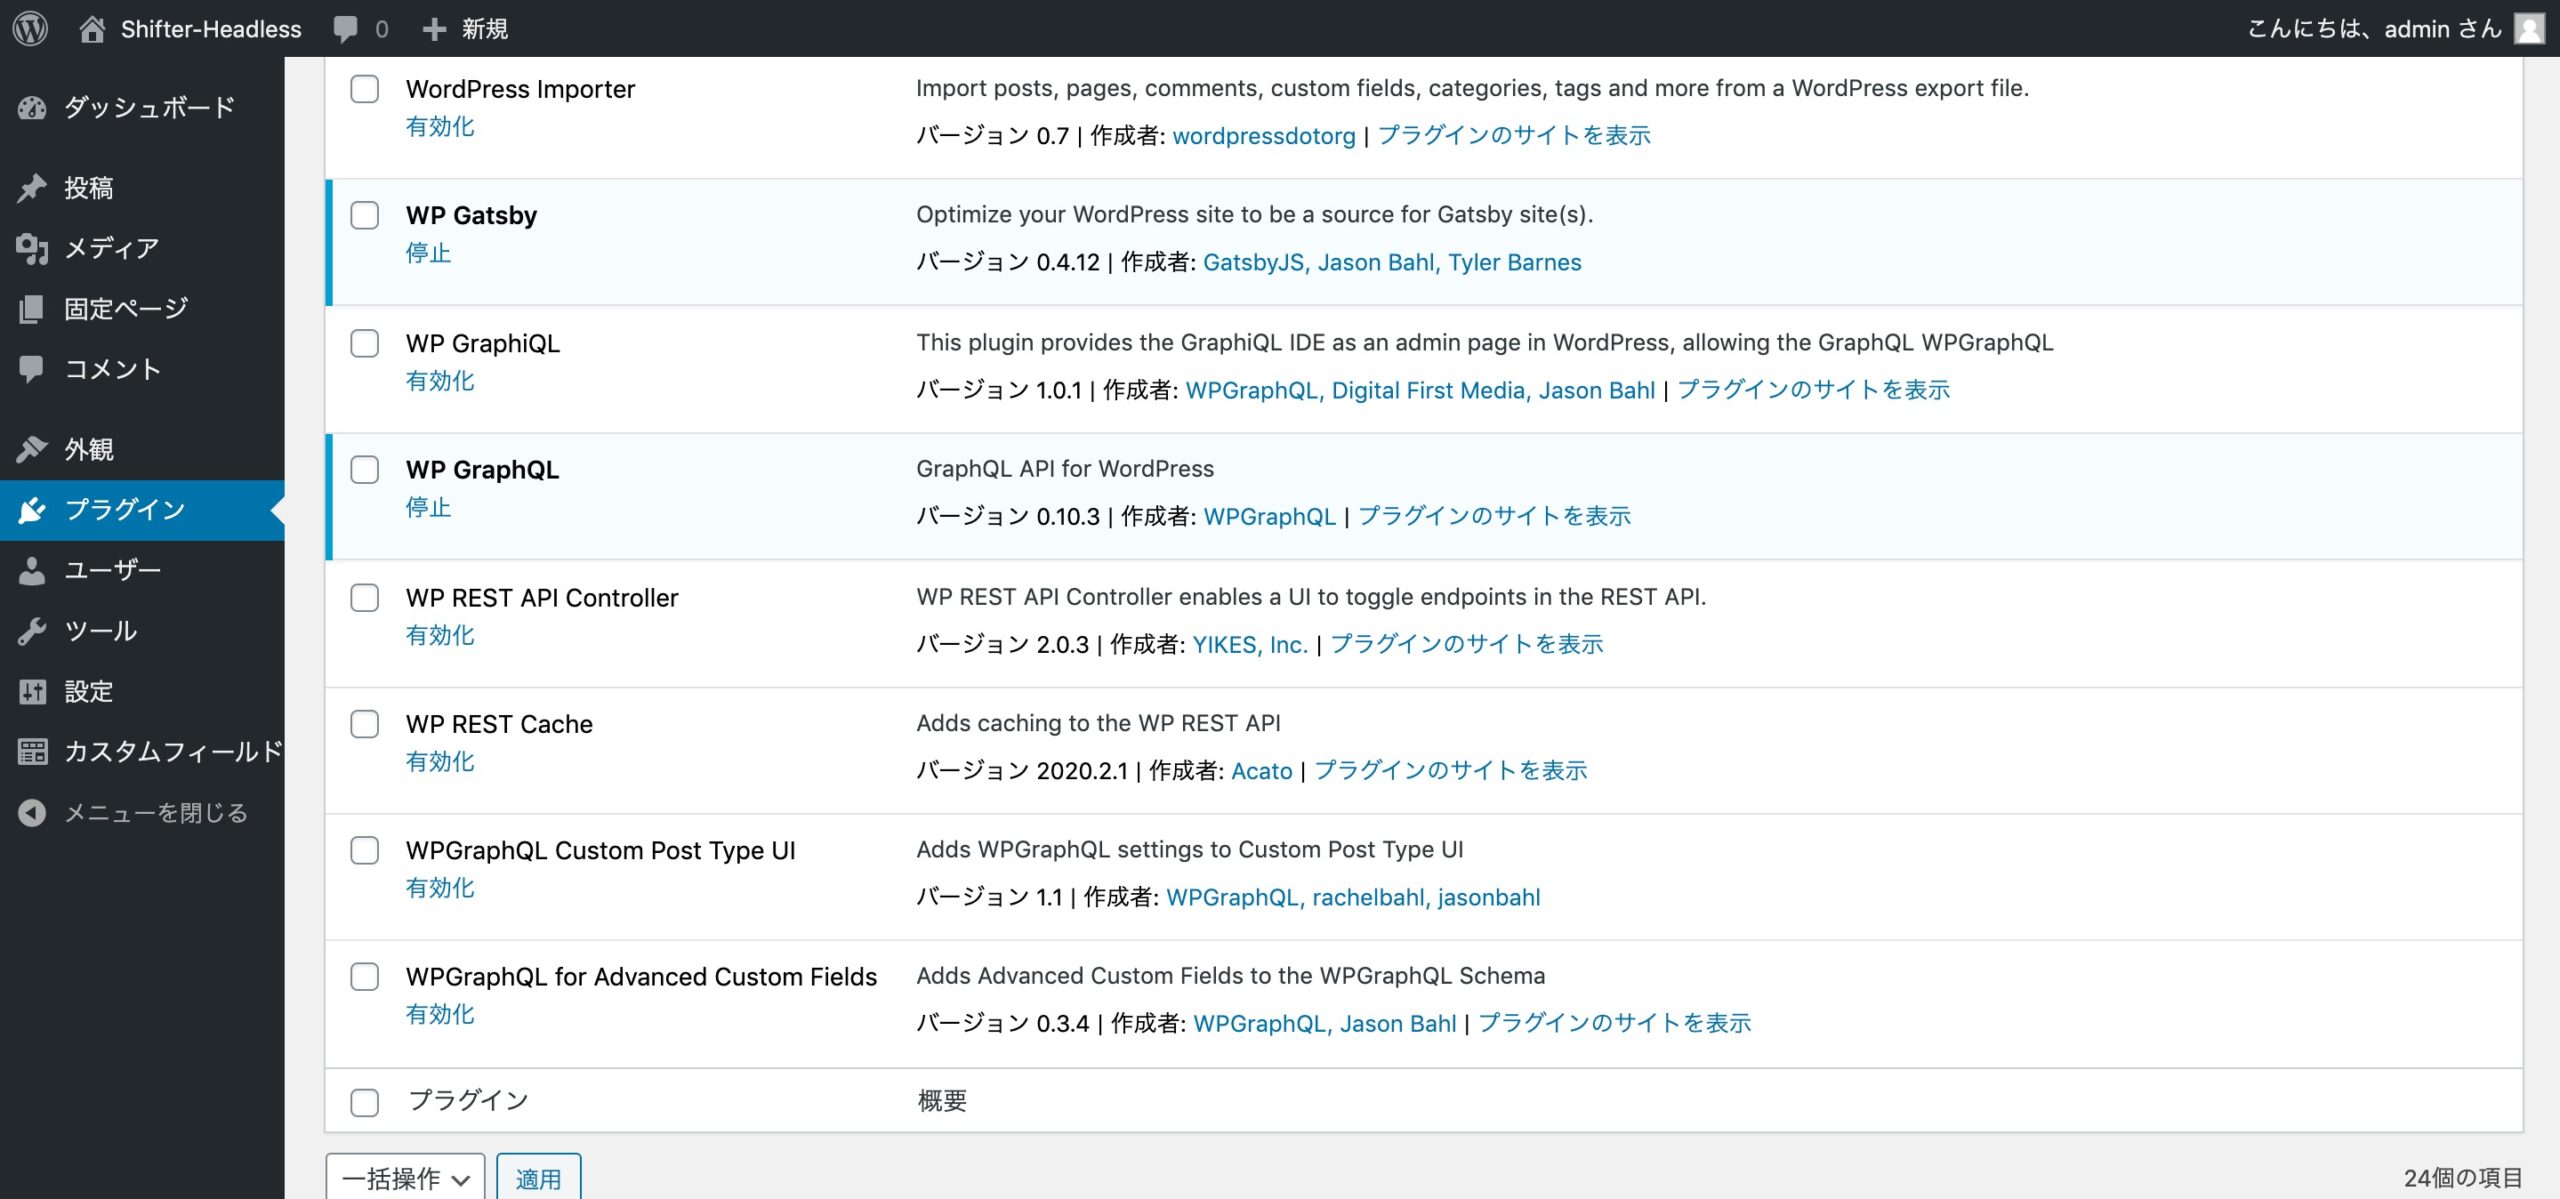
導入
まずは gatsby-plugin-react-helmet プラグインを導入します。
$ yarn add gatsby-plugin-react-helmet react-helmet導入すると、以下のように GatsbyJS のページ上で React Helmet に meta タグや title 要素を記述して設定できるようになります。
import React from 'react';
import { Helmet } from 'react-helmet';

const ExamplePage = () => {
  return (
    <>
      <Helmet
        title="page title"
        link={[{ rel: 'canonical', href: 'canonical' }]}
        meta={[
          { name: 'description', content: 'description' },
          { property: 'og:description', content: 'og:description' },
          ...
        ]}
      />
      <div>page content</div>
    </>
  );
};

export default ExamplePage;
Helmet で囲んだ中で HTML タグのように記述することも可能です。
...
<Helmet>
  <title>page title</title>
  <link rel="canonical" href="canonical" />
  <meta name="description" content="description" />
  <meta name="og:description" content="og:description" />
  ...
</Helmet>
...

export default ExamplePage;
このように設定すると、ビルドした際には以下のような静的 HTML にビルドされます。
<head>
...
  <title data-react-helmet="true">page title</title>
  <link data-react-helmet="true" rel="canonical" href="canonical" />
  <meta data-react-helmet="true" name="description" content="description" />
  <meta data-react-helmet="true" property="og:description" content="og:description" />
  ...
</head>
外部コンポーネント化
実際に使用する際はページごとに React Helmet を置いて設定することはせず、外部コンポーネント化し、それに meta タグの props を渡して設定することになるかと思います。
以下のような Layout コンポーネントを用意して指定するようにします。
import React from 'react';
import { Helmet } from 'react-helmet';
import { StaticQuery, graphql } from 'gatsby';
import ogpImage from '../../static/images/ogp.png';

// ページの URL, title, description, type, og:image を渡せるように作成
const Layout = ({ children, pageUrl, ogpTitle, ogpDescription, ogpType, ogpThumbnail }) => (
  // StaticQuery を使用してコンポーネントに GraphQL で取得したデータを流し込む
  <StaticQuery
    query={graphql`
      query SiteMetaQuery {
        site {
          siteMetadata { // gatsby-config.js で設定した siteMetadata
            title
            description
            siteUrl
            name
          }
        }
      }
    `}
    render={data => {
      return (
        <>
          <Helmet
            title={ogpTitle || title}
            link={[{ rel: "canonical", href: pageUrl }]}
            meta={[
              { name: 'viewport', content: 'width=device-width, initial-scale=1, shrink-to-fit=no, viewport-fit=cover' },
              { name: 'description', content: ogpDescription || description },
              { name: 'twitter:card', content: 'summary' },
              { name: 'twitter:description', content: ogpDescription || description },
              { name: 'twitter:image', content: ogpThumbnail ? `${siteUrl}${ogpThumbnail}` : `${siteUrl}${ogpImage}` },
              { name: 'twitter:site', content: '@gaji_labo' },
              { name: 'twitter:text:title', content: ogpTitle || title },
              { property: 'og:description', content: ogpDescription || description },
              { property: 'og:image', content: ogpThumbnail ? `${siteUrl}${ogpThumbnail}` : `${siteUrl}${ogpImage}` },
              { property: 'og:site_name', content: name },
              { property: 'og:title', content: ogpTitle || title },
              { property: 'og:type', content: ogpType || 'website' },
              { property: 'og:url', content: pageUrl || siteUrl },
            ]}
          />
          <div>
            {children}
          </div>
        </>
      )
...
作成したコンポーネントは、ページ上で以下のように使用します。
import React from 'react';
import Layout from '../../components/common/Layout';

const ExamplePage = () => {
  return (
    <Layout
      pageUrl="page URL"
      ogpDescription="description"
      ogpTitle="page title"
    >
      page content
    </Layout>
  )
...
これでページごとに任意のデータを渡して meta タグや title 要素を設定することができるようになりました。
サイト上に置いた Markdown ファイルの Frontmatter から meta タグを取得したい時は、同様に GraphQL でデータを取得し、 Layout コンポーネントに渡すようにします。
import React from "react";
import { graphql } from "gatsby";
import Layout from "../components/common/Layout";

const ExamplePage = (props) => {
  const { data } = props;
  const { markdownRemark: post, site } = data;
  return (
    <Layout
      pageUrl={`${site.siteMetadata.siteUrl}${post.fields.slug}`}
      ogpTitle={post.frontmatter.title}
      ogpDescription={post.frontmatter.description || post.excerpt}
      ogpThumbnail={post.frontmatter.ogpThumbnail}
      ogpType="article"
    >
      <div dangerouslySetInnerHTML={{ __html: post.html }} />
    </Layout>
  );
};

export const pageQuery = graphql`
  query ContentByID($id: String!) {
    site {
      siteMetadata {
        siteUrl
      }
    }
    markdownRemark(id: { eq: $id }) {
      html
      excerpt(pruneLength: 300, truncate: true)
      fields {
        slug
      }
      frontmatter {
        title
        description
        ogpThumbnail
      }
    }
  }
`;
...
まとめ
今回は gatsby-plugin-react-helmet プラグインを使用して、GatsbyJS サイト上の meta タグを設定する方法についてまとめました。
GatsbyJS を使用している方の参考にしていただけたらと思います。
Gaji-Laboでは、JavaScriptフレームワーク経験が豊富なパートナーさんを募集しています
Gaji-Laboでは、開発チームの一員としてプロジェクトに一緒に取り組んでくれる業務委託のパートナーさんを募集しています。
現在は特にJavaScriptフレームワーク実践と業務経験が豊富なWebフロントエンドエンジニアを必要としています。React + TypeScript、Vue.js、Next.js、Nuxt.js など、あなたの得意なフレームワークを教えて下さい!
パートナー契約へのお問い合わせもお仕事へのお問い合わせも、どちらもいつでも大歓迎です。まずはオンラインでのリモート面談からはじめましょう。ぜひお気軽にお問い合わせください!
お問い合わせしてみる!